Showing posts with label Mac OS X. Show all posts

Monday, April 30, 2012

Mac Daddy Monday: Need to Clear Space on Your Hard Drive? Check Out This Cool Ap!

Ever needed to erase stuff on your hard drive because you don’t even have the room to save a Word file? When you’re in that situation you are less discerning, and may throw out files that you normally would take the time to back up first. There is a free ap available that shows you a pie chart of disk usage on your computer, making it extremely easy to find folders and files that are cloggers. Download JDiskReport here: http://www.jgoodies.com/freeware/jdiskreport/


Monday, January 30, 2012

Mac Daddy Monday: 25 OS X Tricks Every User Should Know

Today's blog post is from Huffington Post. Read it here.
How many of these OS X tricks do you know? Add more in the comments below.

Monday, January 23, 2012

Mac Daddy Monday: Getting to know OS X

Welcome back everyone, and welcome new students! Hope your semester is starting off well. Today I thought I'd share a bunch of resources for learning the Mac operating system.

Berklee Laptop: Mac Mastery training sessions

Berklee Laptop: Peripherals training sessions (Oxygen25 & UX2)

We have a resources page on the Learning Center website dedicated to Mac OS X where you can sign up for training sessions, read these archived blog posts on OS X, and where some of the following links are. (While there, check out our other resources pages for Oxygen 25 & UX2, GarageBand, Reason and more)
http://learningcenter.berklee.edu/Resources/Mac_OSX

Check this Mac 101 tutorial on the apple.com website
http://www.apple.com/support/mac101/

As a Berklee student, you have access to video tutorial training from Lynda.com (a great resource that would cost you $250 per year on your own). You'll find videos on OS X and hundreds of other topics including Logic, GarageBand and Reason.

Login at my.berklee.net, go to Technology Services, and click Access Lynda.com

Learn the icons for Mac keyboard shortcuts

Thanks and enjoy!

Monday, November 7, 2011

Mac Daddy Monday: Dock Spacer using Terminal in OS X


What is Terminal in Mac OS?
It is simply a text-based program that lets you send commands manually to the OS and interact with it. You can do pretty much anything, because the Terminal is basically a window into another OS.

What is the Dock Spacer?
The Dock is very convenient to organize application icons. However, if you have too much items in the Dock, it is easy to get lost visually and also waste time searching the application that you want to get access.
Using the Dock Spacer lets you organize the applications in the Dock in groups, so that you have a visual clue to get to the applications. Dock Spacer is simply a ‘blank icon’ in the Dock. You are adding an invisible space between the icons to create a border.


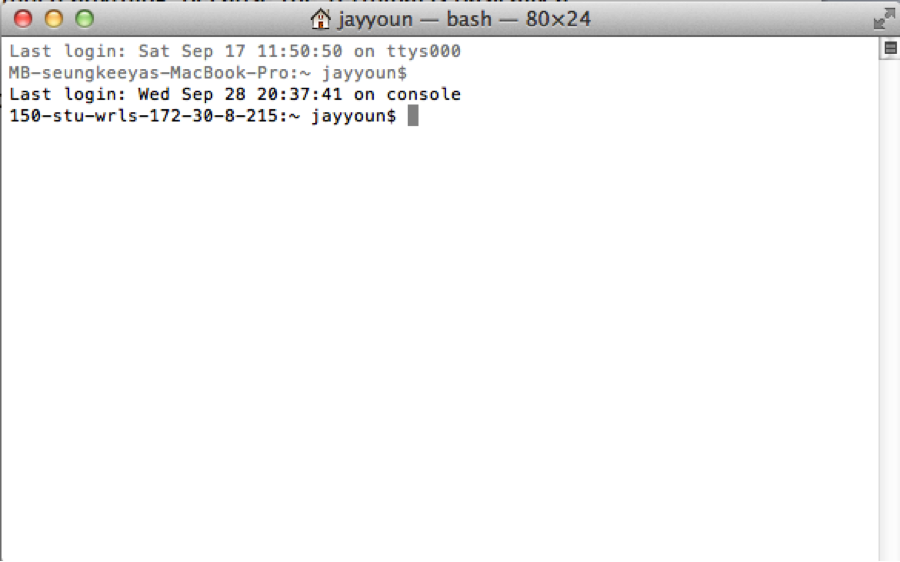
1.     Launch Terminal. (Application/Utilities/Terminal)


2.   Type the following command.
*Copy and drag the below commands is recommended. You may type in the text on your own. Make sure the command is a single line of text. Don’t worry if your Terminal browser breaks your commands into multiple lines.

defaults write com.apple.dock persistent-apps -array-add '{tile-data={}; tile-type="spacer-tile";}'

3.     Press Enter or Return Key.
4.     Type the following command. (Case sensitive)
killall Dock
5. Your Dock will disappear and restart. On the far right side of the Dock, a invisible space will be created.
6. You can drag the invisible space as an icon, and place it where you want.
7. Type the following command in Terminal
exit

8. Quit Terminal.

If you want to remove the Dock Spacer, simply click and drag it outside of the Dock, just like other icons.
You can create as much Dock Spacer as possible.

-by LC Tech Blog contributor Jay Youn

Monday, October 3, 2011

Mac Daddy Monday: Take a Screen Shot with the Mouse Cursor Included

As we have been doing these blog posts we take a lot of screen shots. The easiest way to do this is with the keyboard shortcut SHIFT-COMMAND-3 to get the entire screen, and SHIFT-COMMAND-4 to get a crosshair cursor to select the screen shot area. This will put the new image file right on the desktop.

The problem with this method however, is that the mouse cursor is not included. In many applications the mouse cursor is contextual, and changes based on where you point it. In these blog posts we like to point that out in the screen shots, so here is what we do:

Instead of this screen shot method, use the application Grab, which is in Applications - Utilities.

Open Grab’s preferences, and you can choose which mouse cursor to use.

This however, doesn’t show the natural cursor, so in situations where the cursor changes within the application, this method won’t work. There are many 3rd party screen capture applications that will capture the actual mouse cursor.

Try Jing (free): http://www.techsmith.com/Jing/
Little Snapper (free trail download, then you must purchase): http://www.realmacsoftware.com/littlesnapper/
Screen Flow (also not free): http://www.telestream.net/screen-flow/
or Snapz Pro (also not free): http://www.ambrosiasw.com/utilities/snapzprox/
Screen Flow and Snapz Pro are more expensive, but they are full feature screen casting studio apps geared toward video bloggers and podcast makers.

Find any more? Post them up in the comments below.

-by LC Tech Blog contributor Chris Fitzgerald