


Start by filling the background with a solid color or gradient of your choosing, using either the paint bucket or gradient tool.

Next type in the text you want to make look frosty using the Text tool. (This works best if the font is really large and bold mine here is around 240px)

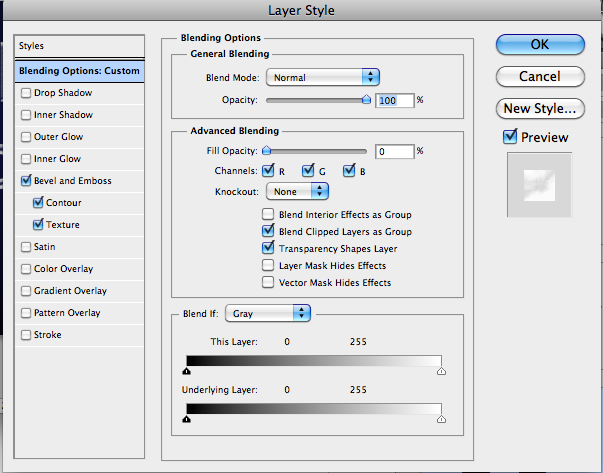
With the text layer selected click on the “fx” button at the bottom of the layers panel to open the Layer Style dialogue box. First thing you’ll want to do is turn the “fill opacity” in “advanced blending” down to 0%. This allows the text to be see through while the layer styles we will add can be seen.
 Next select the “Bevel and Emboss” option. Set Style: Inner Bevel, Technique: Smooth, Depth: 75%, Direction: Up, Size: 13 px, Highlight Mode: Normal and color white, Shadow Mode: Lighten and color white with opacity 90%.
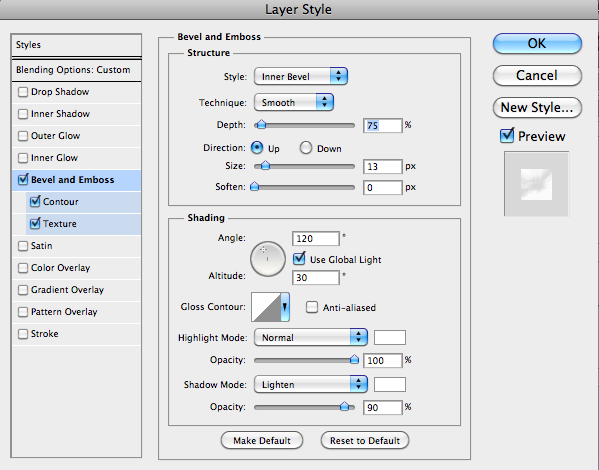 Select the Contour Make sure the Range is set to 50%.
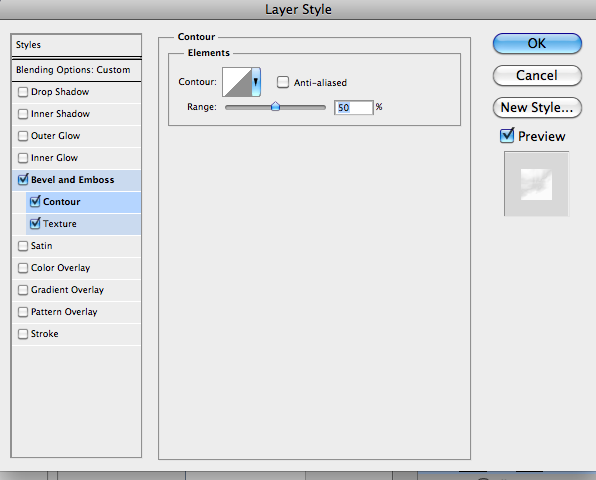 Finally Select the Texture Option. Change the Texture to “Clouds,” Scale: 27%, and Depth: +15%.
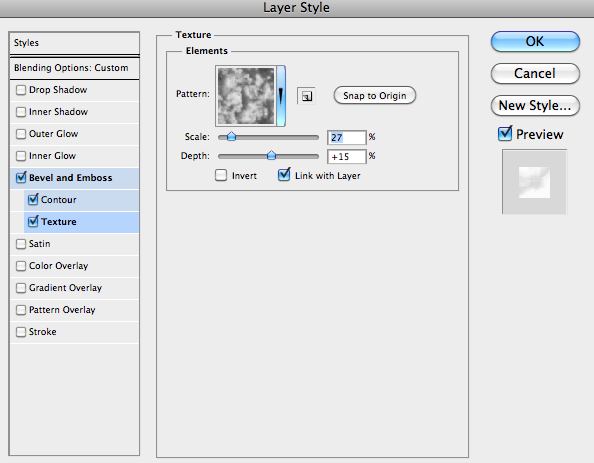 Ok we are halfway there as you can see it’s starting to look a bit frosty:
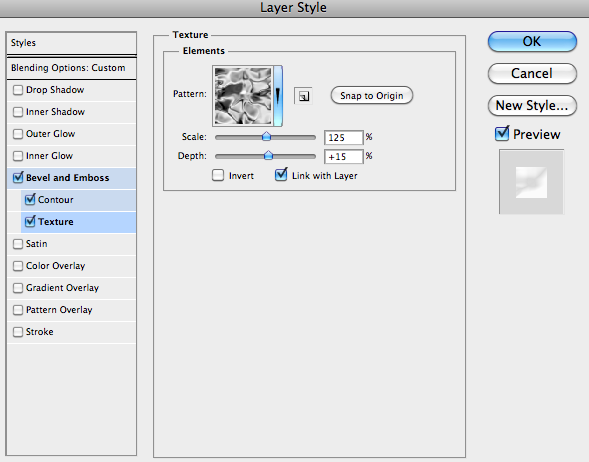
Duplicate the text layer (Command + J), and open up the Layer Style dialogue box again. Leave everything the same except this time from the texture option select “Satin,” Scale: 125%, and leave Depth at +15%.
 And there you have it, some awesome frosty text to use!
 -Kat
-Kat
0 comments:
Post a Comment