Wednesday, November 16, 2011

Waveform Wednesday: Quick Sidechain Compression in Logic


If you’re looking for a nice kick sound in your song  a sidechain compression might help you out! Today lets put a sidechain compression on a pad. Triggered by the Kick. Here’s what you have to do:

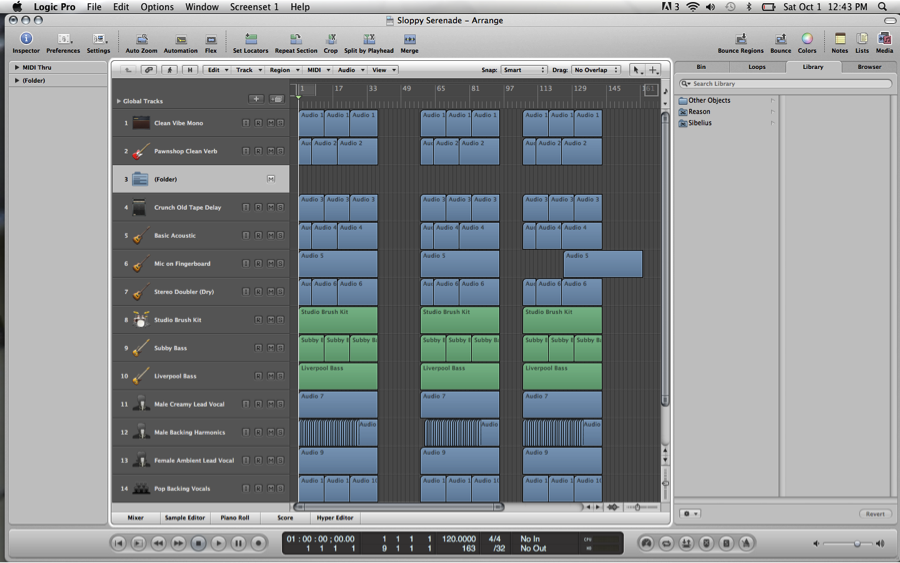
Write the kick on a MIDI track, like this:

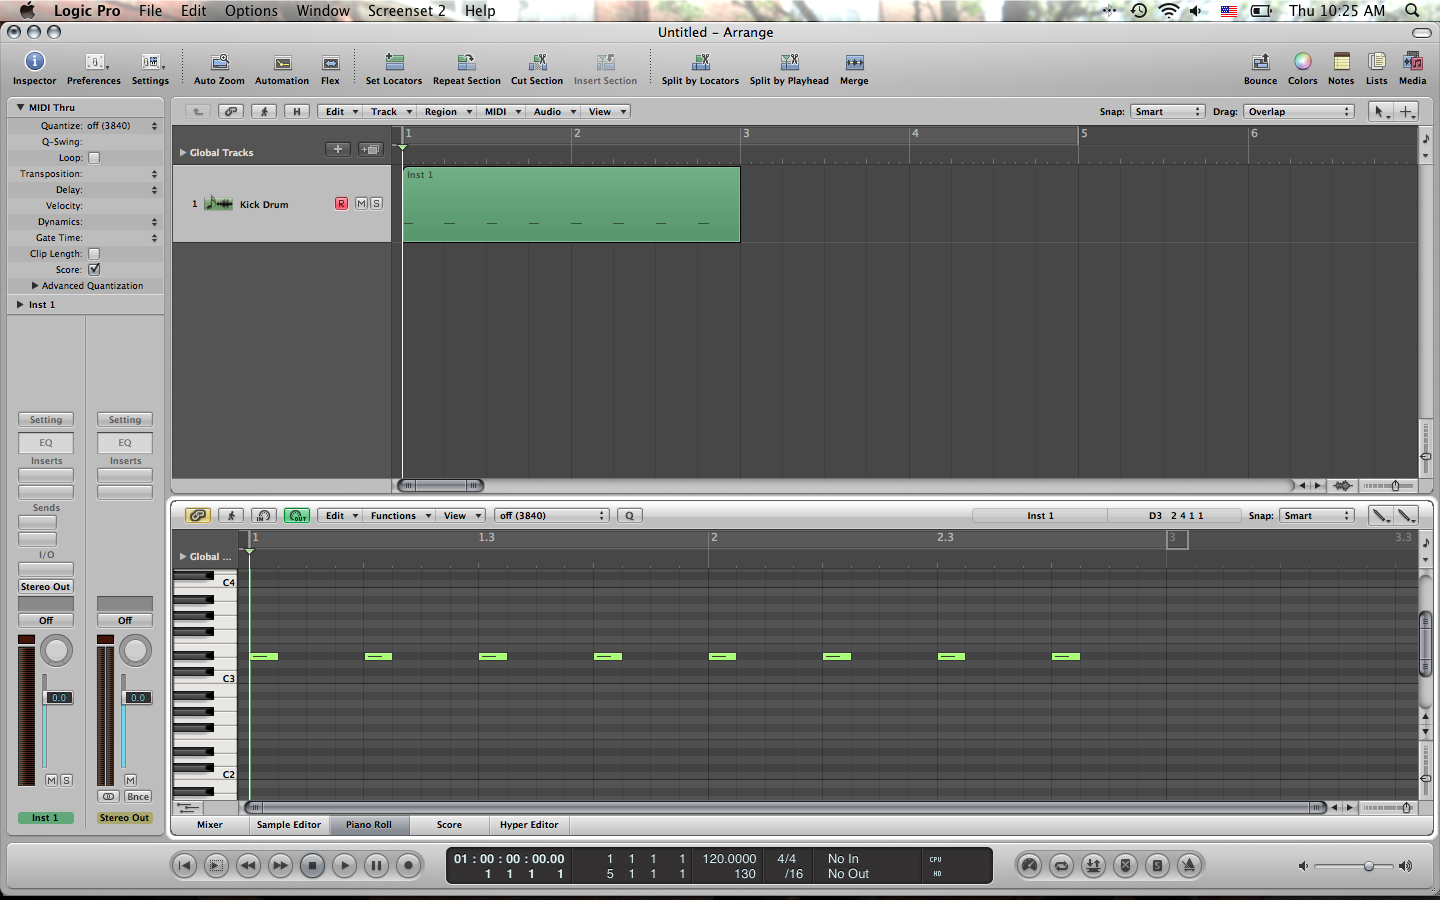
Choose a kick that you like, could be electric or acoustic, in this case I’d recommend the Ultrabeat kick drum, because its nice and you can also modify it.

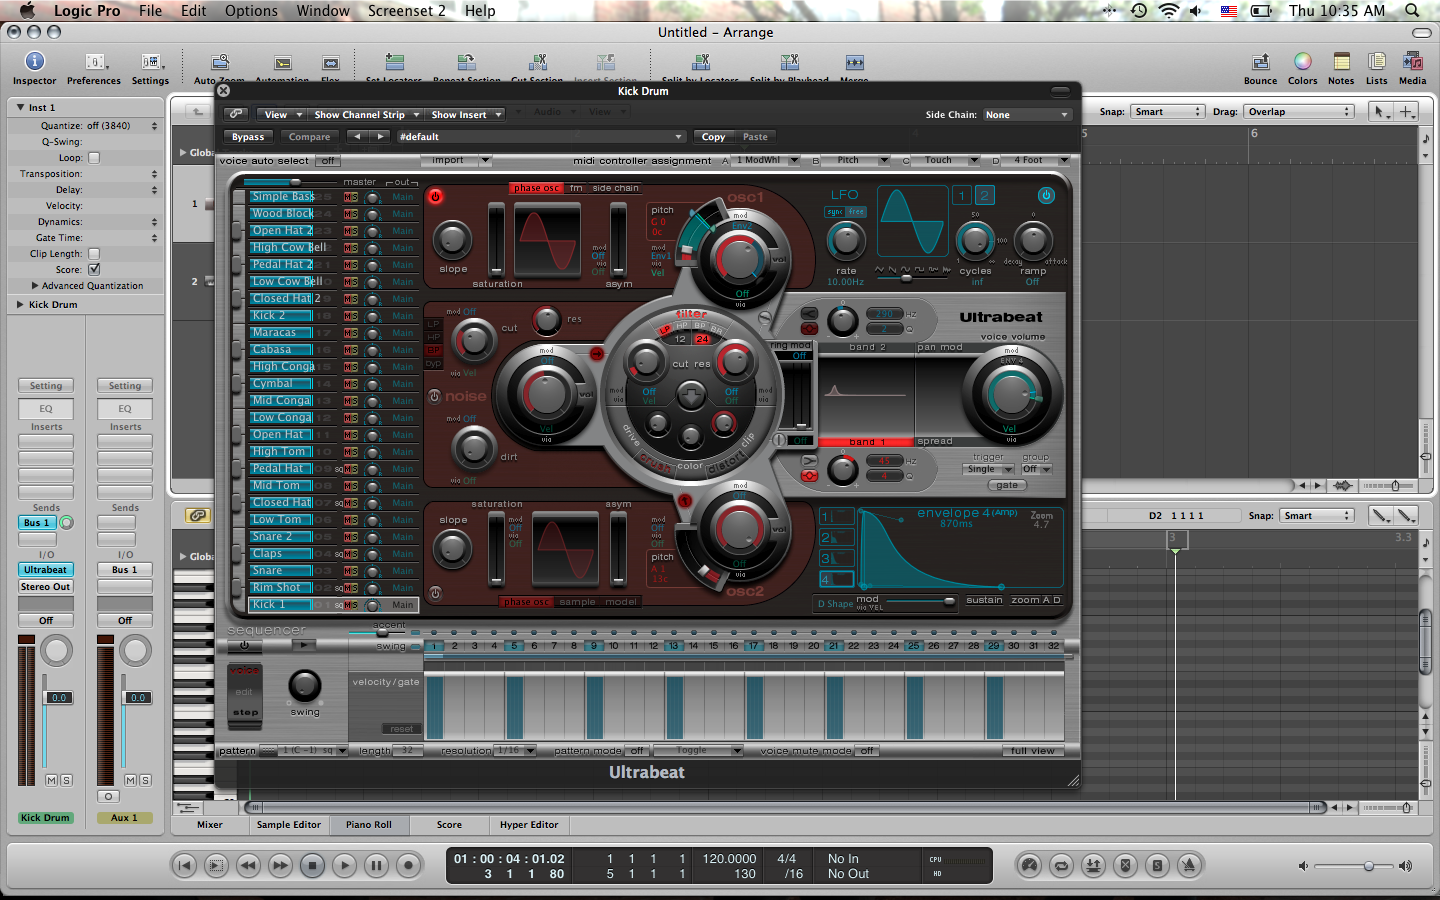
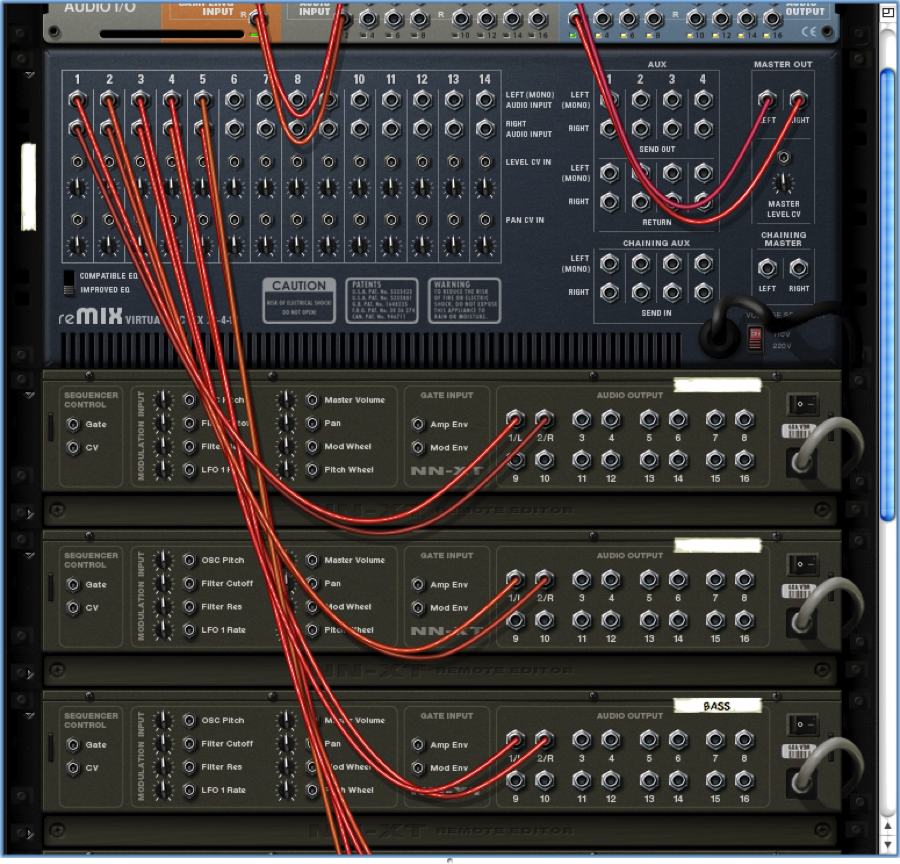
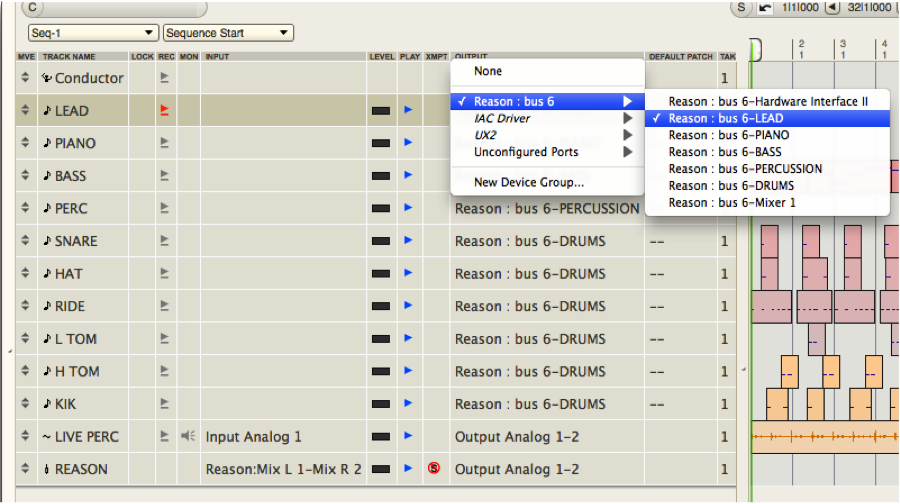
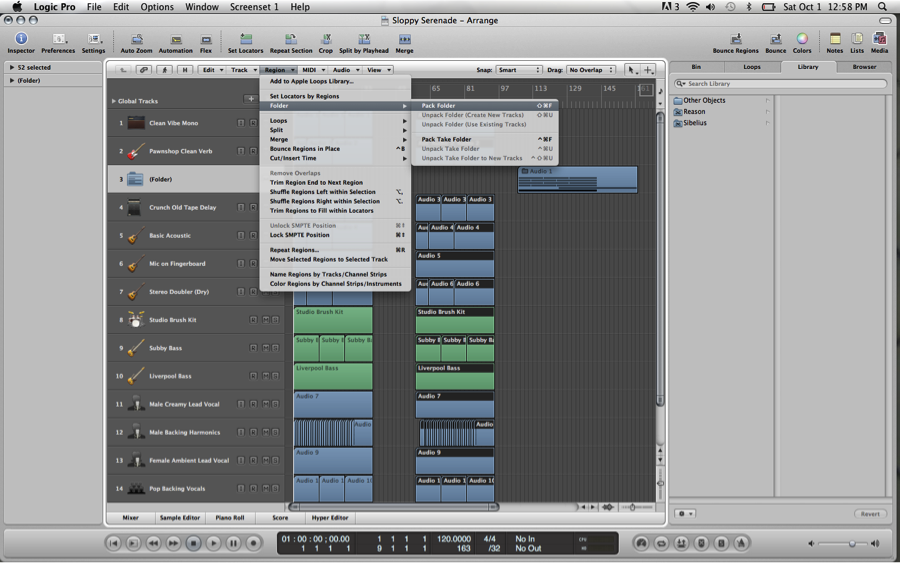
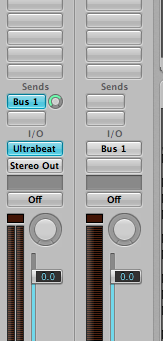
Once you’ve selected your plug in, send the track to a bus (Its up to you to choose the bus number!)


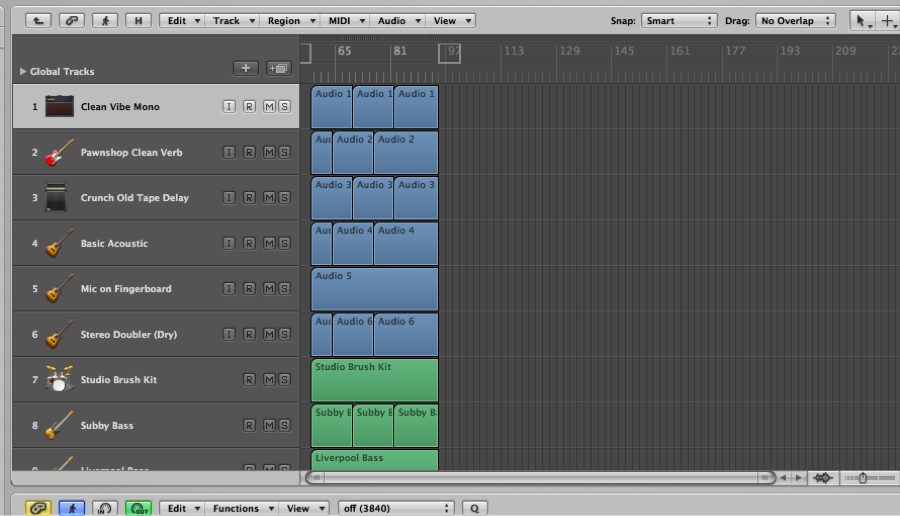
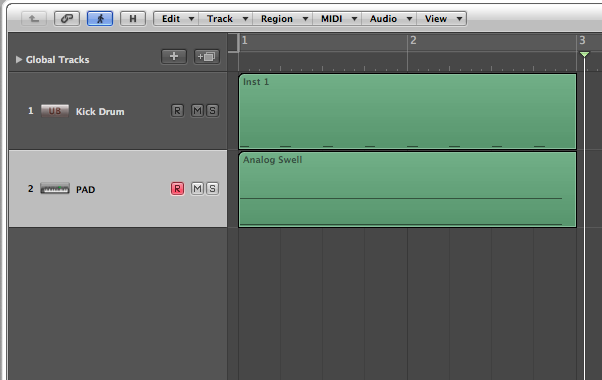
After that, record whatever you want to get to be compressed by the kick (e.i if it’s a House song you could try with a pad or a synth). And just to start off, its better if you record a simple extended line like shown below:


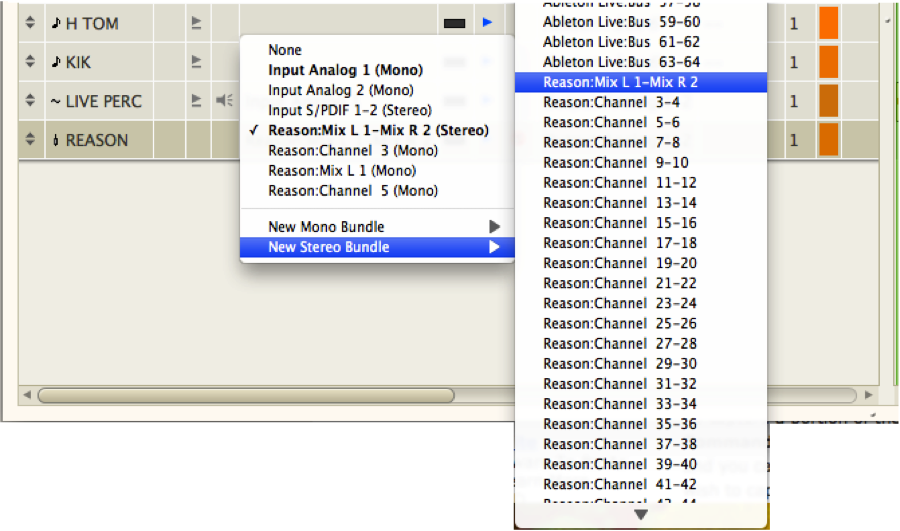
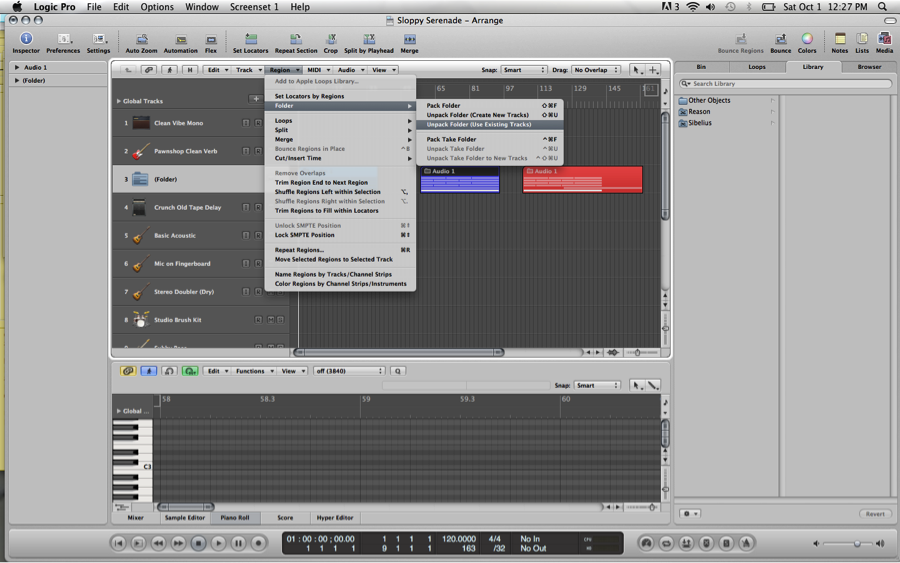
Insert a compressor to your new Pad track and on the top-right  corner where it says “Sidechain” choose the bus where you sent the kick, in this case Bus No. 1.
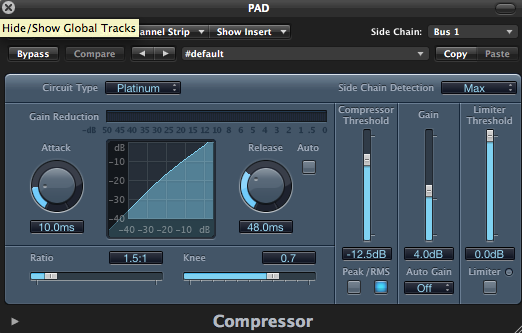
Once you’ve done that, rise the ratio of your compressor to, lets say… 6:1 and slowly turn down the compressor’s threshold WHILE playing the lines. You will immediately start listening how the kick kind of “swallows” the pad when is played…like a whirlpool.


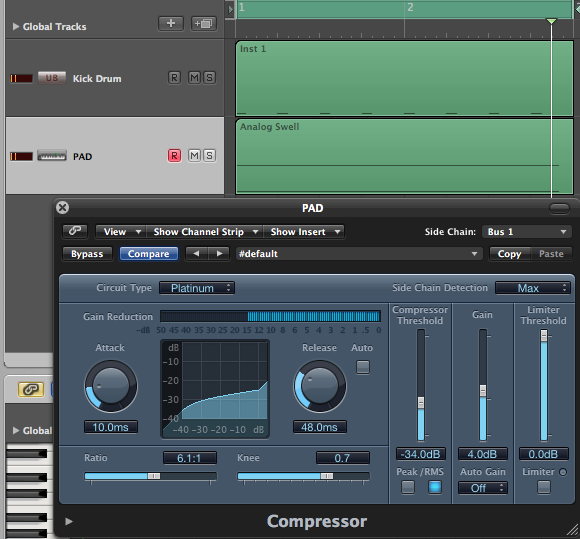
And there you go! You have your sidechain compression. Its up to you how “Deep” you want your compression, just play with the ratio and threshold until you’re comfortable with the sound. You can do a million things with this, just have to be creative!

-by LC Tech Blog contributor Luis de la Isla

Wednesday, November 9, 2011

Waveform Wednesday: Reason Rewire in Digital Performer


Every DAW has its ups and downs.  Have you ever hoped that someone would just combine them into one awesome DAW?  The good news is that you can do this (to an extent).  The better news is that it is really easy to do.  I’m going to show you how to do so in Digital Performer (everyone’s favorite).

Essentially what we are doing is making Reason sync to another DAW. This offers the benefits of DP’s great sequencing and editing capabilities, with the sounds of Reason.  We all know that recording live audio in Reason isn’t possible and sequencing can become quite worrisome.

The first thing we need to do is open DP.  Then we open Reason.  When Reason is opened after another DAW it automatically goes into “slave” mode.  Now it’s simply a matter of “patching” the imaginary chords.

The First thing you want to do is create a few MIDI Tracks for our instruments and one Aux track in order to bring Reason in.  Name the tracks accordingly.

Once we have created the Aux track that we have named Reason we sets its input to Stereo: Reason: Mix L-1-Mix R-2.   We set the output to whatever you are using for output (built-in, mbox, ux2, etc).  This setup allows Reason to be an “instrument” in DP.


Now we go over to Reason.  We’re going to create a Mixer 14:2 and few instruments to go along with it.  NAME THE INSTRUMETNS ACCORDINGLY.  This step is important otherwise it could get very confusing when we began patching reason into our MIDI tracks in DP.

If we press TAB in reason we can see the back of the rack.  You may have noticed that Reason automatically wires itself.  If this has happened go ahead and unwire everything so we are starting from scratch. 

Each of our instruments needs to be patched into the Mixer 14:2.  We take our left and right outs from the first instrument and patch them into the first input.  Named accordingly.  We then take the next instrument and patch that into the second input, and so on and so forth until it looks like this.


We are good to go in Reason.  Now we go back to DP and set up our MIDI track outputs in order to receive their respective Reason input.  Because we have already done all of the groundwork (AND NAMED THE REASON INSTRUMENTS ACCORDINLY), all you need to do is select the output of our MIDI track and set it to what you need.


Record enable and you're good to go!

-by LC Tech Blog contributor Kai Sorensen

Monday, November 7, 2011

Mac Daddy Monday: Dock Spacer using Terminal in OS X


What is Terminal in Mac OS?
It is simply a text-based program that lets you send commands manually to the OS and interact with it. You can do pretty much anything, because the Terminal is basically a window into another OS.

What is the Dock Spacer?
The Dock is very convenient to organize application icons. However, if you have too much items in the Dock, it is easy to get lost visually and also waste time searching the application that you want to get access.
Using the Dock Spacer lets you organize the applications in the Dock in groups, so that you have a visual clue to get to the applications. Dock Spacer is simply a ‘blank icon’ in the Dock. You are adding an invisible space between the icons to create a border.


1.     Launch Terminal. (Application/Utilities/Terminal)


2.   Type the following command.
*Copy and drag the below commands is recommended. You may type in the text on your own. Make sure the command is a single line of text. Don’t worry if your Terminal browser breaks your commands into multiple lines.

defaults write com.apple.dock persistent-apps -array-add '{tile-data={}; tile-type="spacer-tile";}'

3.     Press Enter or Return Key.
4.     Type the following command. (Case sensitive)
killall Dock
5. Your Dock will disappear and restart. On the far right side of the Dock, a invisible space will be created.
6. You can drag the invisible space as an icon, and place it where you want.
7. Type the following command in Terminal
exit

8. Quit Terminal.

If you want to remove the Dock Spacer, simply click and drag it outside of the Dock, just like other icons.
You can create as much Dock Spacer as possible.

-by LC Tech Blog contributor Jay Youn

Wednesday, November 2, 2011

Waveform Wednesday: Tidying Up A Logic Session (part 2)

Does the amount of information on your arrange window ever make you feel claustrophobic?  In Logic, we can organize untidy tracks and regions in various ways.  Here is one feature that can sweep regions from an entire take “under the rug,” so to speak. 


Here we have three different versions of the same tune, so we can send them off for different applications.   We will be working on each chunk separately, and the extra space could be useful.  We can clean up the arrange window by using the “Folders” feature.

First, we select a block of regions that is not currently being edited; go to the “region” menu at the top of the arrange window and click “Pack Folder.”


Now the unused sections are neatly tucked away.   When we click on the folder, it will take us to work on the chunk in a new window, just for that chunk, as if it was it’s own project.


Then, double click anywhere in the arrange window to get back to the original view of all three takes.  If we want to unpack the folder we can go back to the “region” menu and select “unpack folder (use existing tracks)”


-by LC Tech Blog contributor Lonn Hayes